
Shadowheart
Shadowheart
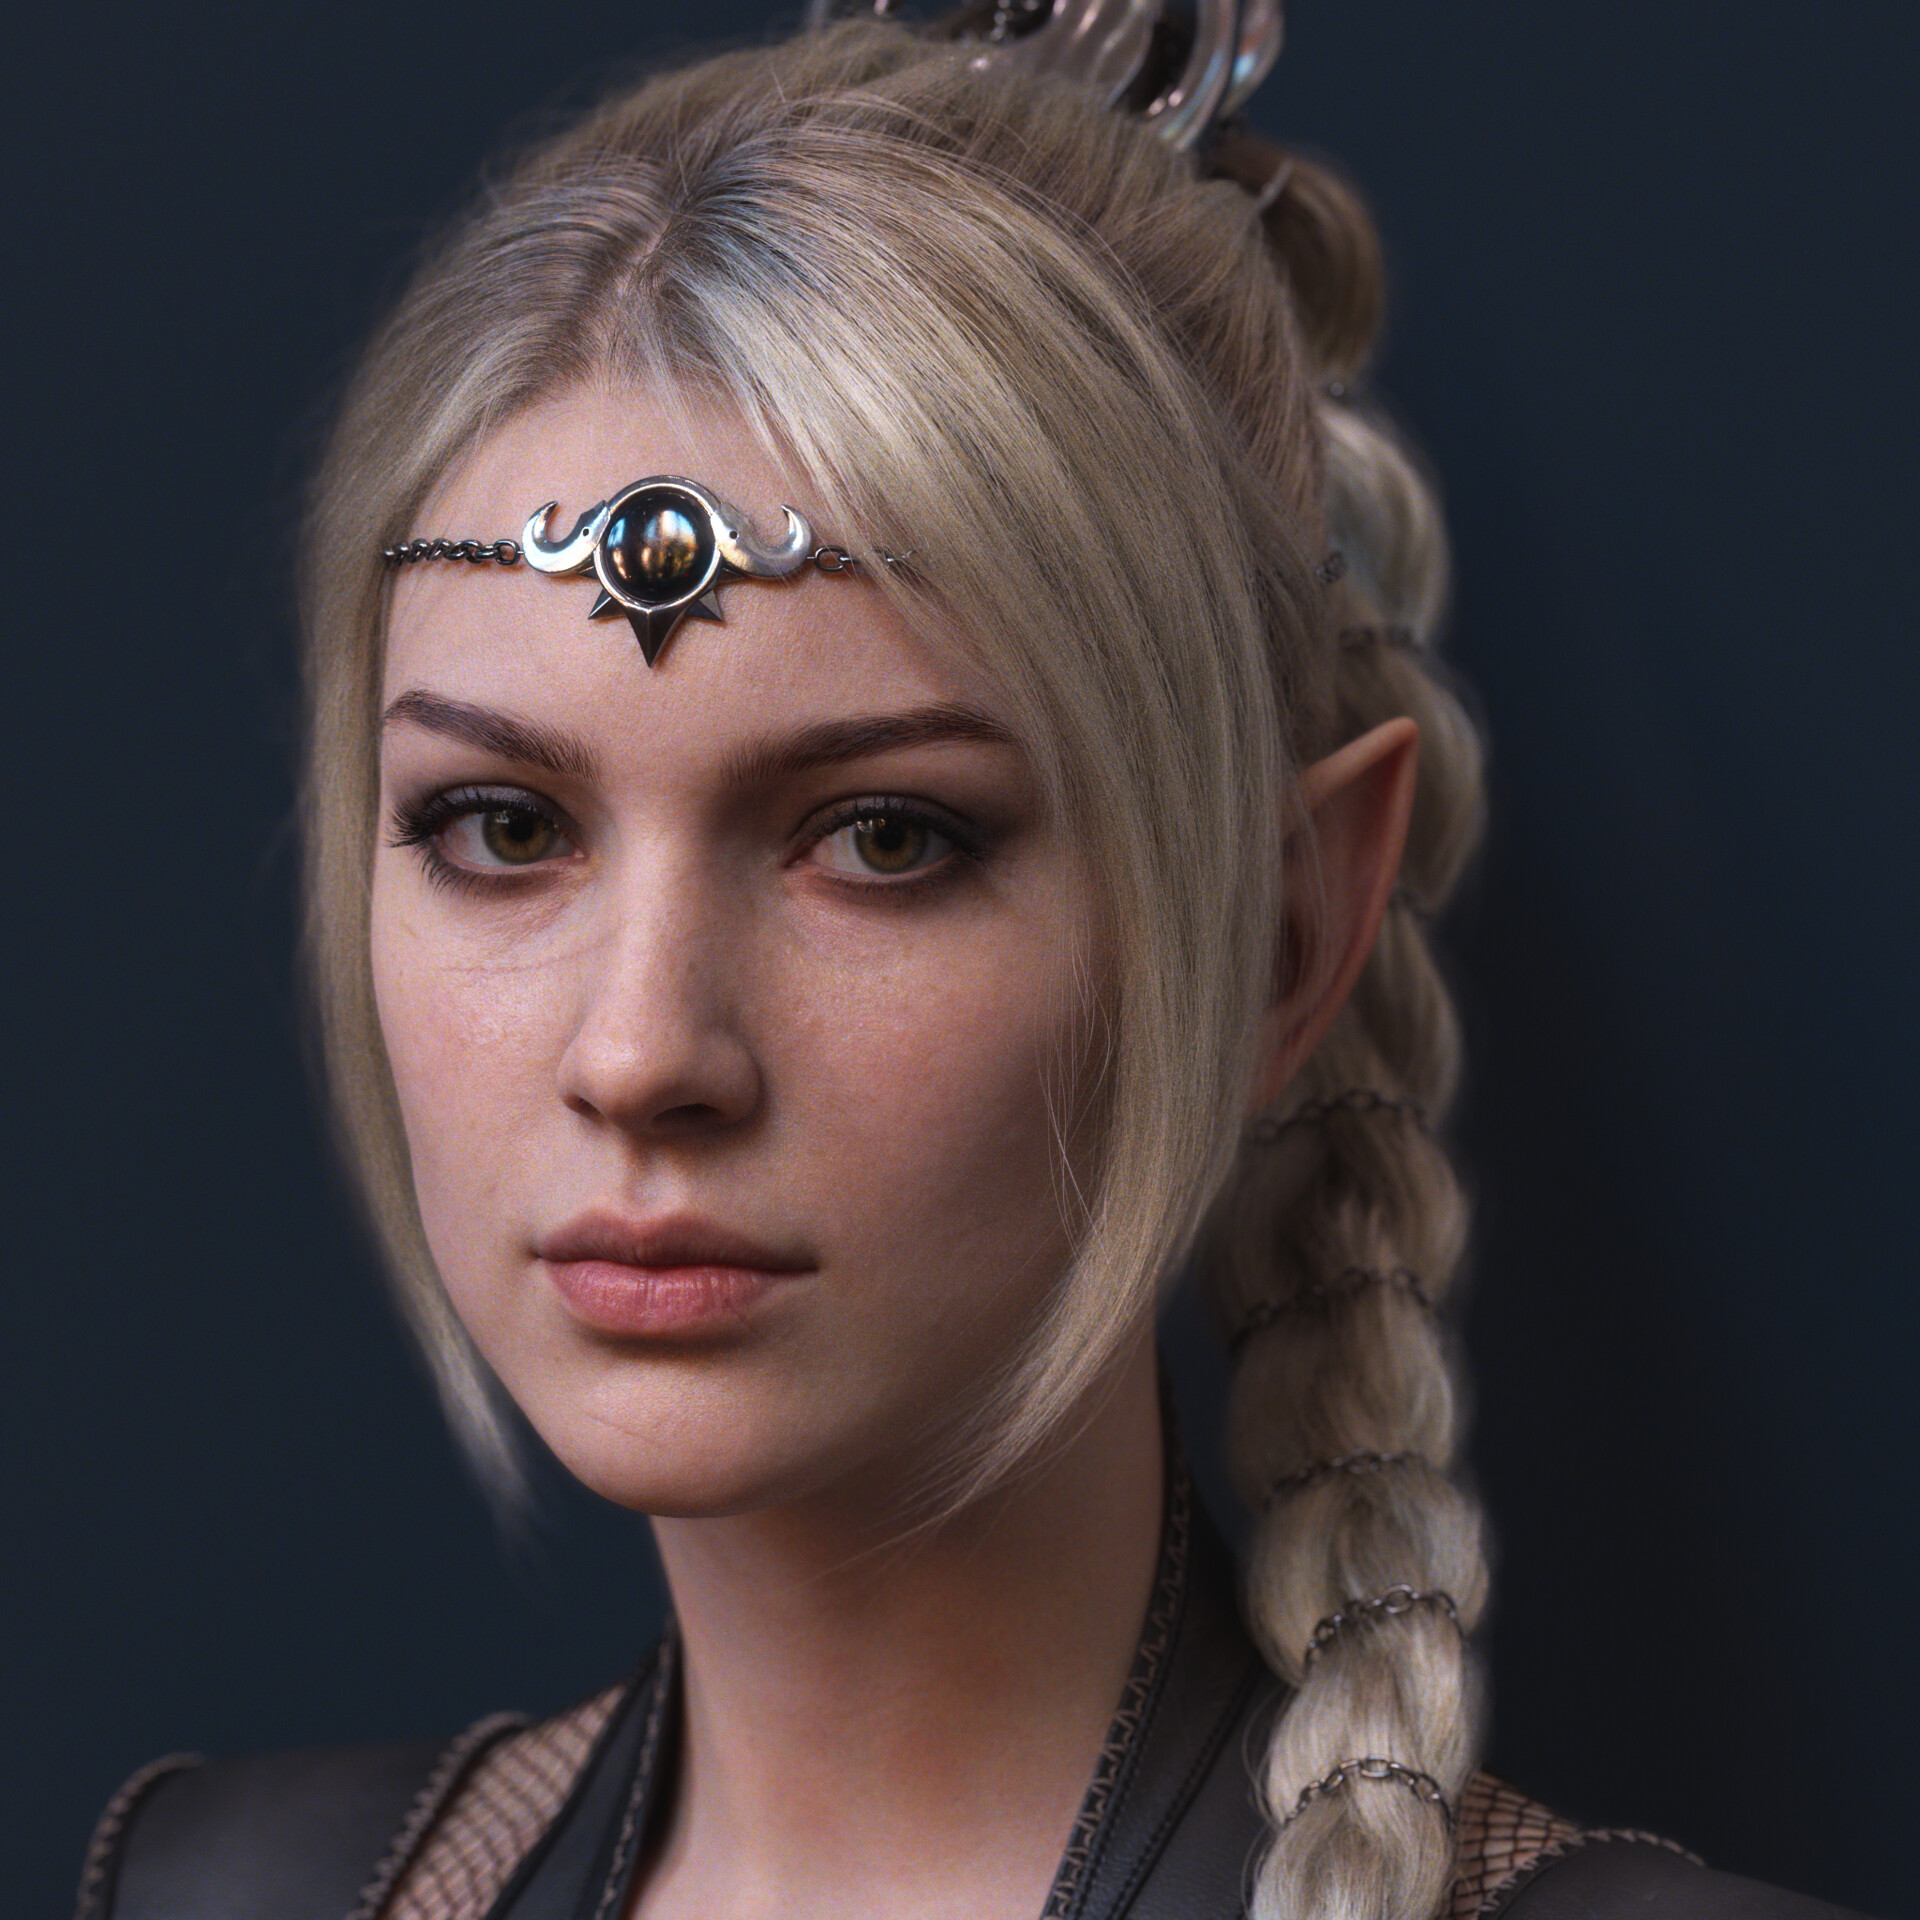
We’re happy to share our latest collab with Natalia Sudas - BLU1304 on her personal take on Shadowheart, one of the iconic characters from Baldur’s Gate.
REFERENCES
Likeness
I'm a big fan of Baldur's Gate 3, a game that is so inspirational tome that I have a wish to hopefully recreate all the characters from it someday, if time allows.
Last year, I made Astarion, and it was such a pleasure to work on this fascinating character that Idecided to create another fan version, this time Shadowheart.
During this project, I studied Unreal Engine 5, Omniverse, and Houdini. The final portrait iteration was done and rendered in Houdini.
It's easier for me to mimic reality based on photos rather than create something from my head, so I find it great practice to recreate game characters in a more photorealistic manner. The Symbiote Team was so kind and provided amazing help inbringing my idea to life. They carefully analyzed the images tomatch as closely as possible the skin references I provided. I thought it would be a great idea to take Jennifer English as themain reference for realistic details.
Making a game character is really convenient because I can easily rotate the character in-game and choose any angle I like, without having to solve the focal length puzzle.
I also used mods to remove makeup and hair in the game.
These kinds of references are extremely helpful during the early stages of character development.


MODELLING
Likeness
I like to use Triplegangers' base mesh as a starting point because it provides a really convenient lowest subdivision level for starting the modeling. Usually, I work on a likeness in three stages.
During the first stage, I stay at the lowest subdivision possible until those few polygons start tore mind me of the character and the silhouette becomes more recognizable. Using both ZBrush and Maya is extremely helpful for validating the model and matching the desired likeness.
In the second stage, I add more anatomical shapes, more complex forms, and some of the secondary features.
The third stage is mostly dedicated to working with small wrinkles and pore details, where the Symbiote Team did all the magic

For detailing, I used a mix of scan data and manual hand sculpting, following Kris Costa’s approach to create suitable details for this character
For the scars, I painted a quick guide map with red lines. This helps me focus on the scars themselves and their structure, without worrying too much about their position.
Working on a likeness is never truly finished for me. Even during the final rendering stages, I continue tweaking the sculpt.
TEXTURING
Skin textures
Here is a before-and-after render sequence, showing the progression from the base mesh provided by Natalia to the final renders using Symbiote-calibrated maps.
The texturing process was pretty straightforward, and most of the work was done using the enhanced maps provided by the Symbiote Team. I shared my sketch details, which weren’t fancy at all, and the Symbiote tool did a fascinating job by analyzing each pore and wrinkle while upressing the data. I received 14 maps, and this variety gave me a huge playground to explore.

My favourite utility map was the cavity map. With its help, I painted the scars, the roughness map, and enhanced the albedo. The albedo itself is a combination of scan data and hand painting.

My goal on each project is to solve the hardest tasks with the simplest solutions. For this one, I was able to achieve solid results using just four maps: albedo, displacement, utility, and an RGB mask for makeup.
However, each map had to look perfect, and the Symbiote Team was a huge help in making that possible.
EYES
Sclera, cornea and iris

GROOMING
Hair, braid and mascara
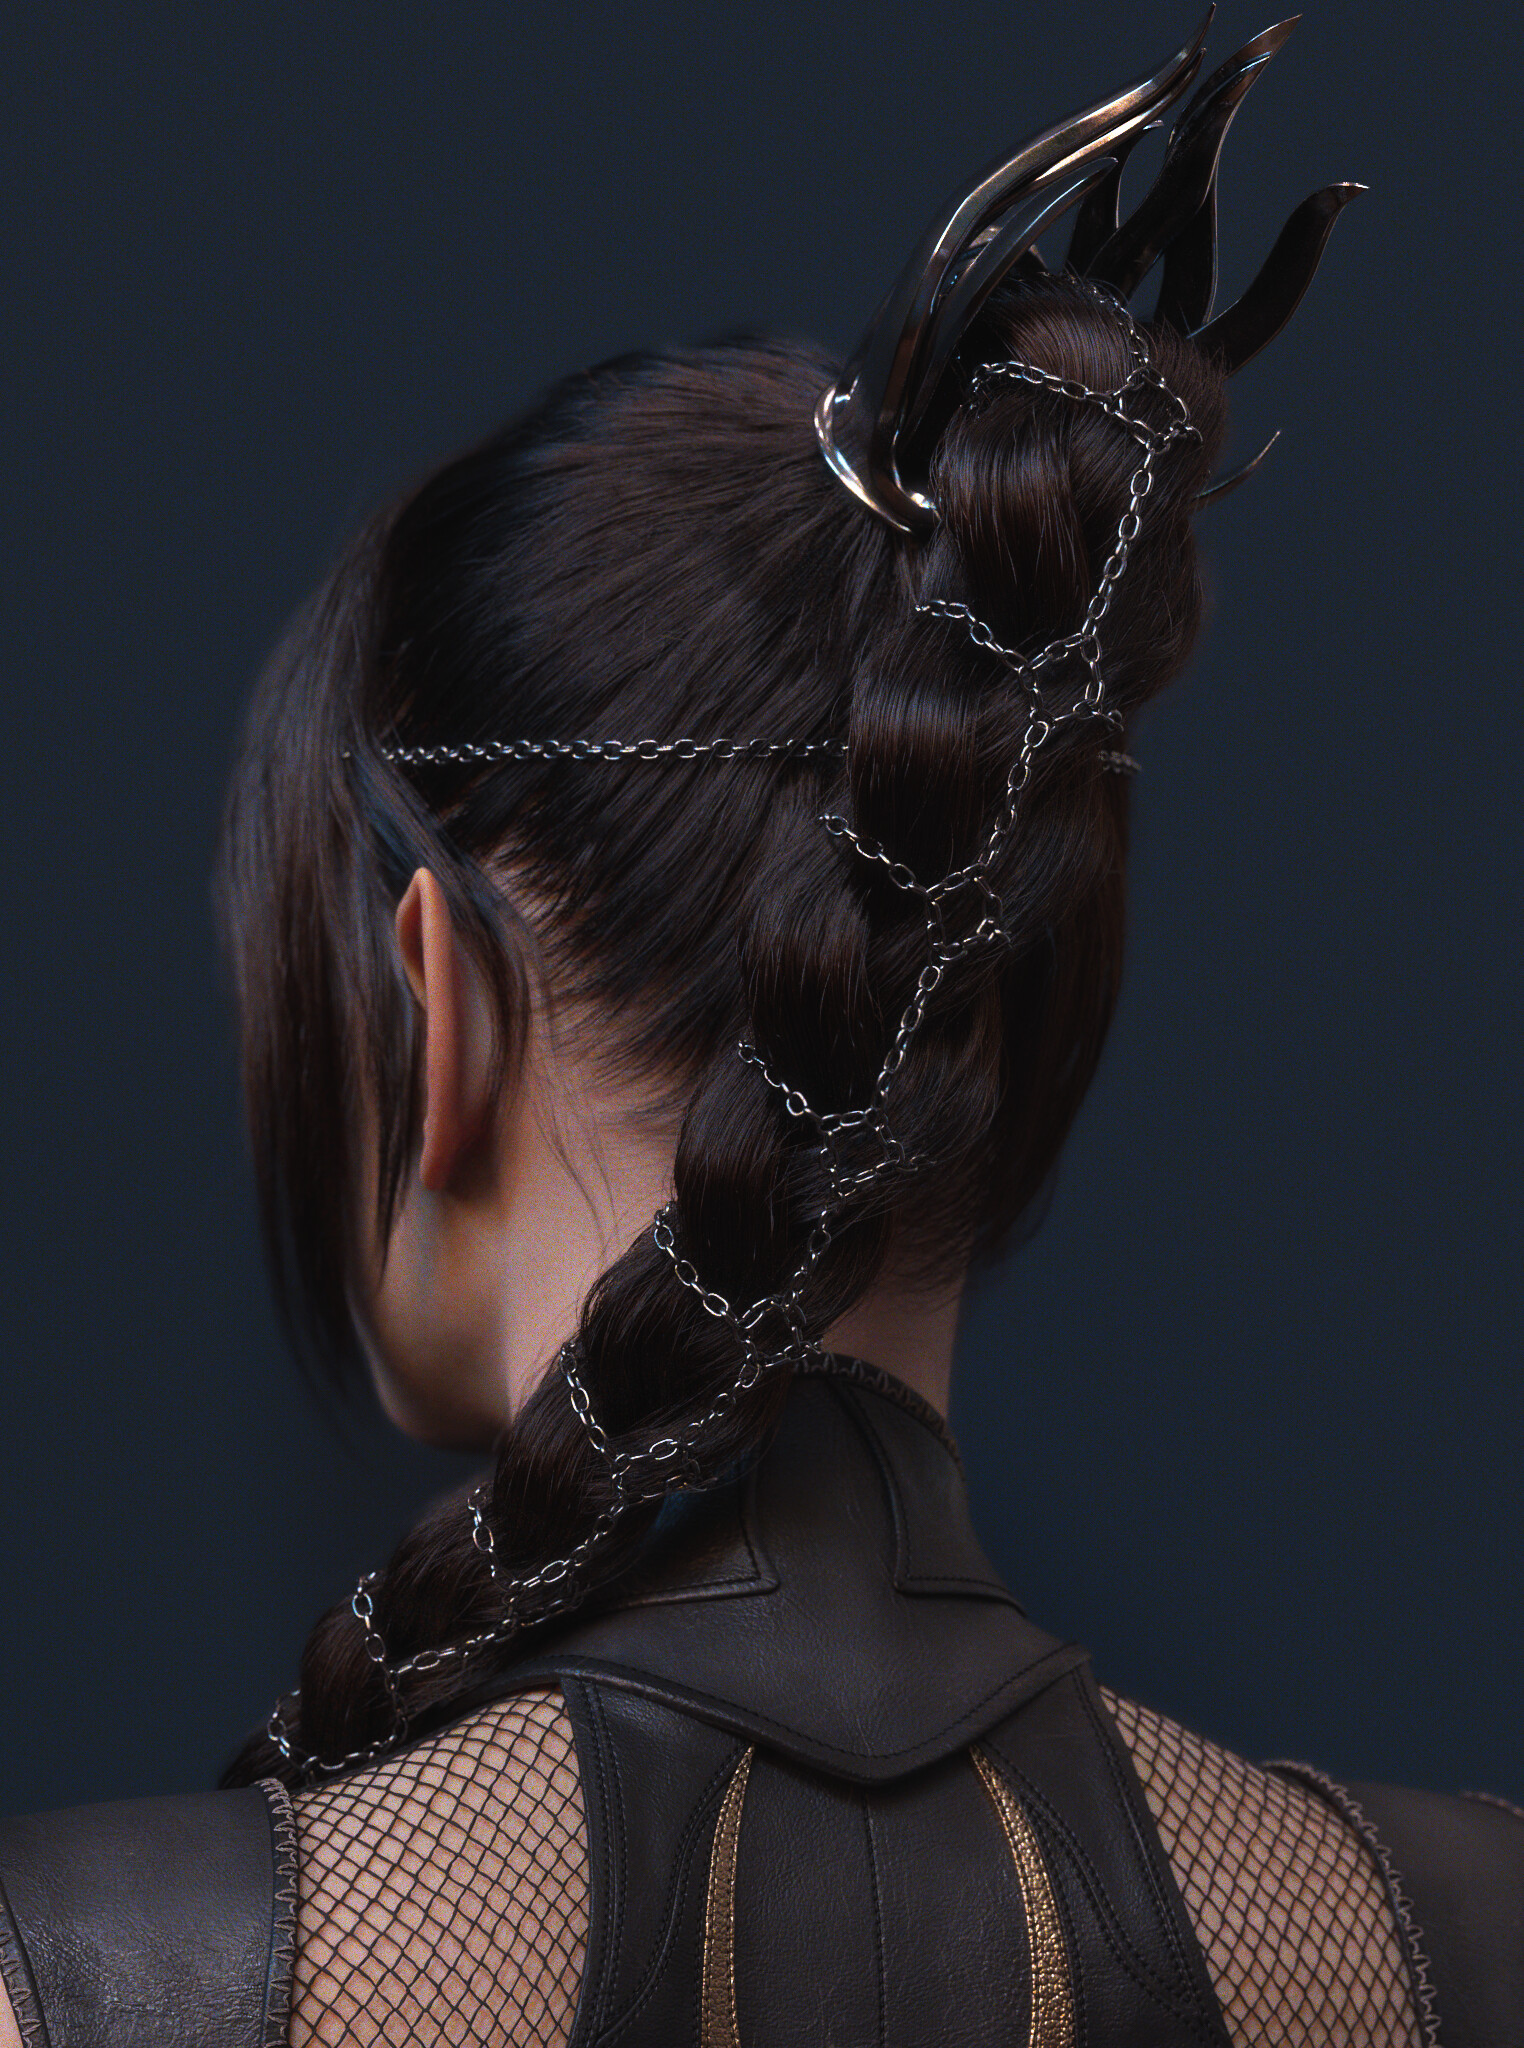
Before starting the grooming process, I like to create guide sketches. After the guide sketches are ready, I carefully match each guide to my sketches to make them as close as possible.

After I have matched all the guides to the references, I make a quick photobash with realistic hair to add more guides, complexity, and a more natural look.

For this project, I made a simple braid generator, which helped me achieve the chain-like look of the braid.

The mascara was created fully procedurally in HairGen using point attribute wrangle and resample nodes.


Attribute Wrangle :
float freq = chf("freq");
float clump_size = chf("clump_size");
float intensity = chf("intensity");
float base_width = @width;
float n = noise(@ptnum * freq + @primnum * 11.3);
float mask = abs(n - 0.5) < clump_size ? 1.0 : 0.0;
mask *= fit01(rand(@ptnum * 31.5), 0.7, 1.0);
@width = base_width * (1.0 + mask * intensity);
CLOTHES
Accessories
For the clothes, I did my best to match the references. The clothing pattern was an improvisation.
I did manual retopology to ensure an even quad topology. The stitches were added in Houdini.


The chains and chain link pattern were generated using Houdini magic as well. After I was happy with the base, I tweaked some of the chains in the connection areas to create more logical transitions.

This project was the perfect opportunity to explore how our ultra-realistic skin textures could blend into a stylized fantasy world. Using Hyperskin 2.0 and Hyperlook X, we helped bring a new level of depth and detail to Shadowheart’s look, while keeping the essence of the original character.
Big shoutout to Natalia for her amazing work and creative vision. We loved being part of this one!
°